When you first create an InboxAlly account, the Setup Wizard walks you through the minimum steps to start using InboxAlly’s seed email network. In most cases, you’ll: (1) start the wizard, (2) add your sender email address, (3) choose how many seed emails (seats) you want, and (4) download your seed list to import into your email sending platform.
You can also follow along with this InboxAlly Setup Video.
Using the setup wizard is optional, but it’s the fastest way for new users to get configured. If you prefer, you can skip it and adjust everything later in Sender Profiles and Sender Emails inside the InboxAlly app.
Before you start
Before you open the wizard, make sure you have:
- The sender email address you’ll be sending campaigns from (you can add more later)
- A plan to import a CSV file of seed emails into your email sending platform (the wizard provides the download)
If you’re still planning your warmup schedule, use the free Email Warmup Planner to estimate an appropriate ramp-up and seed ratio.
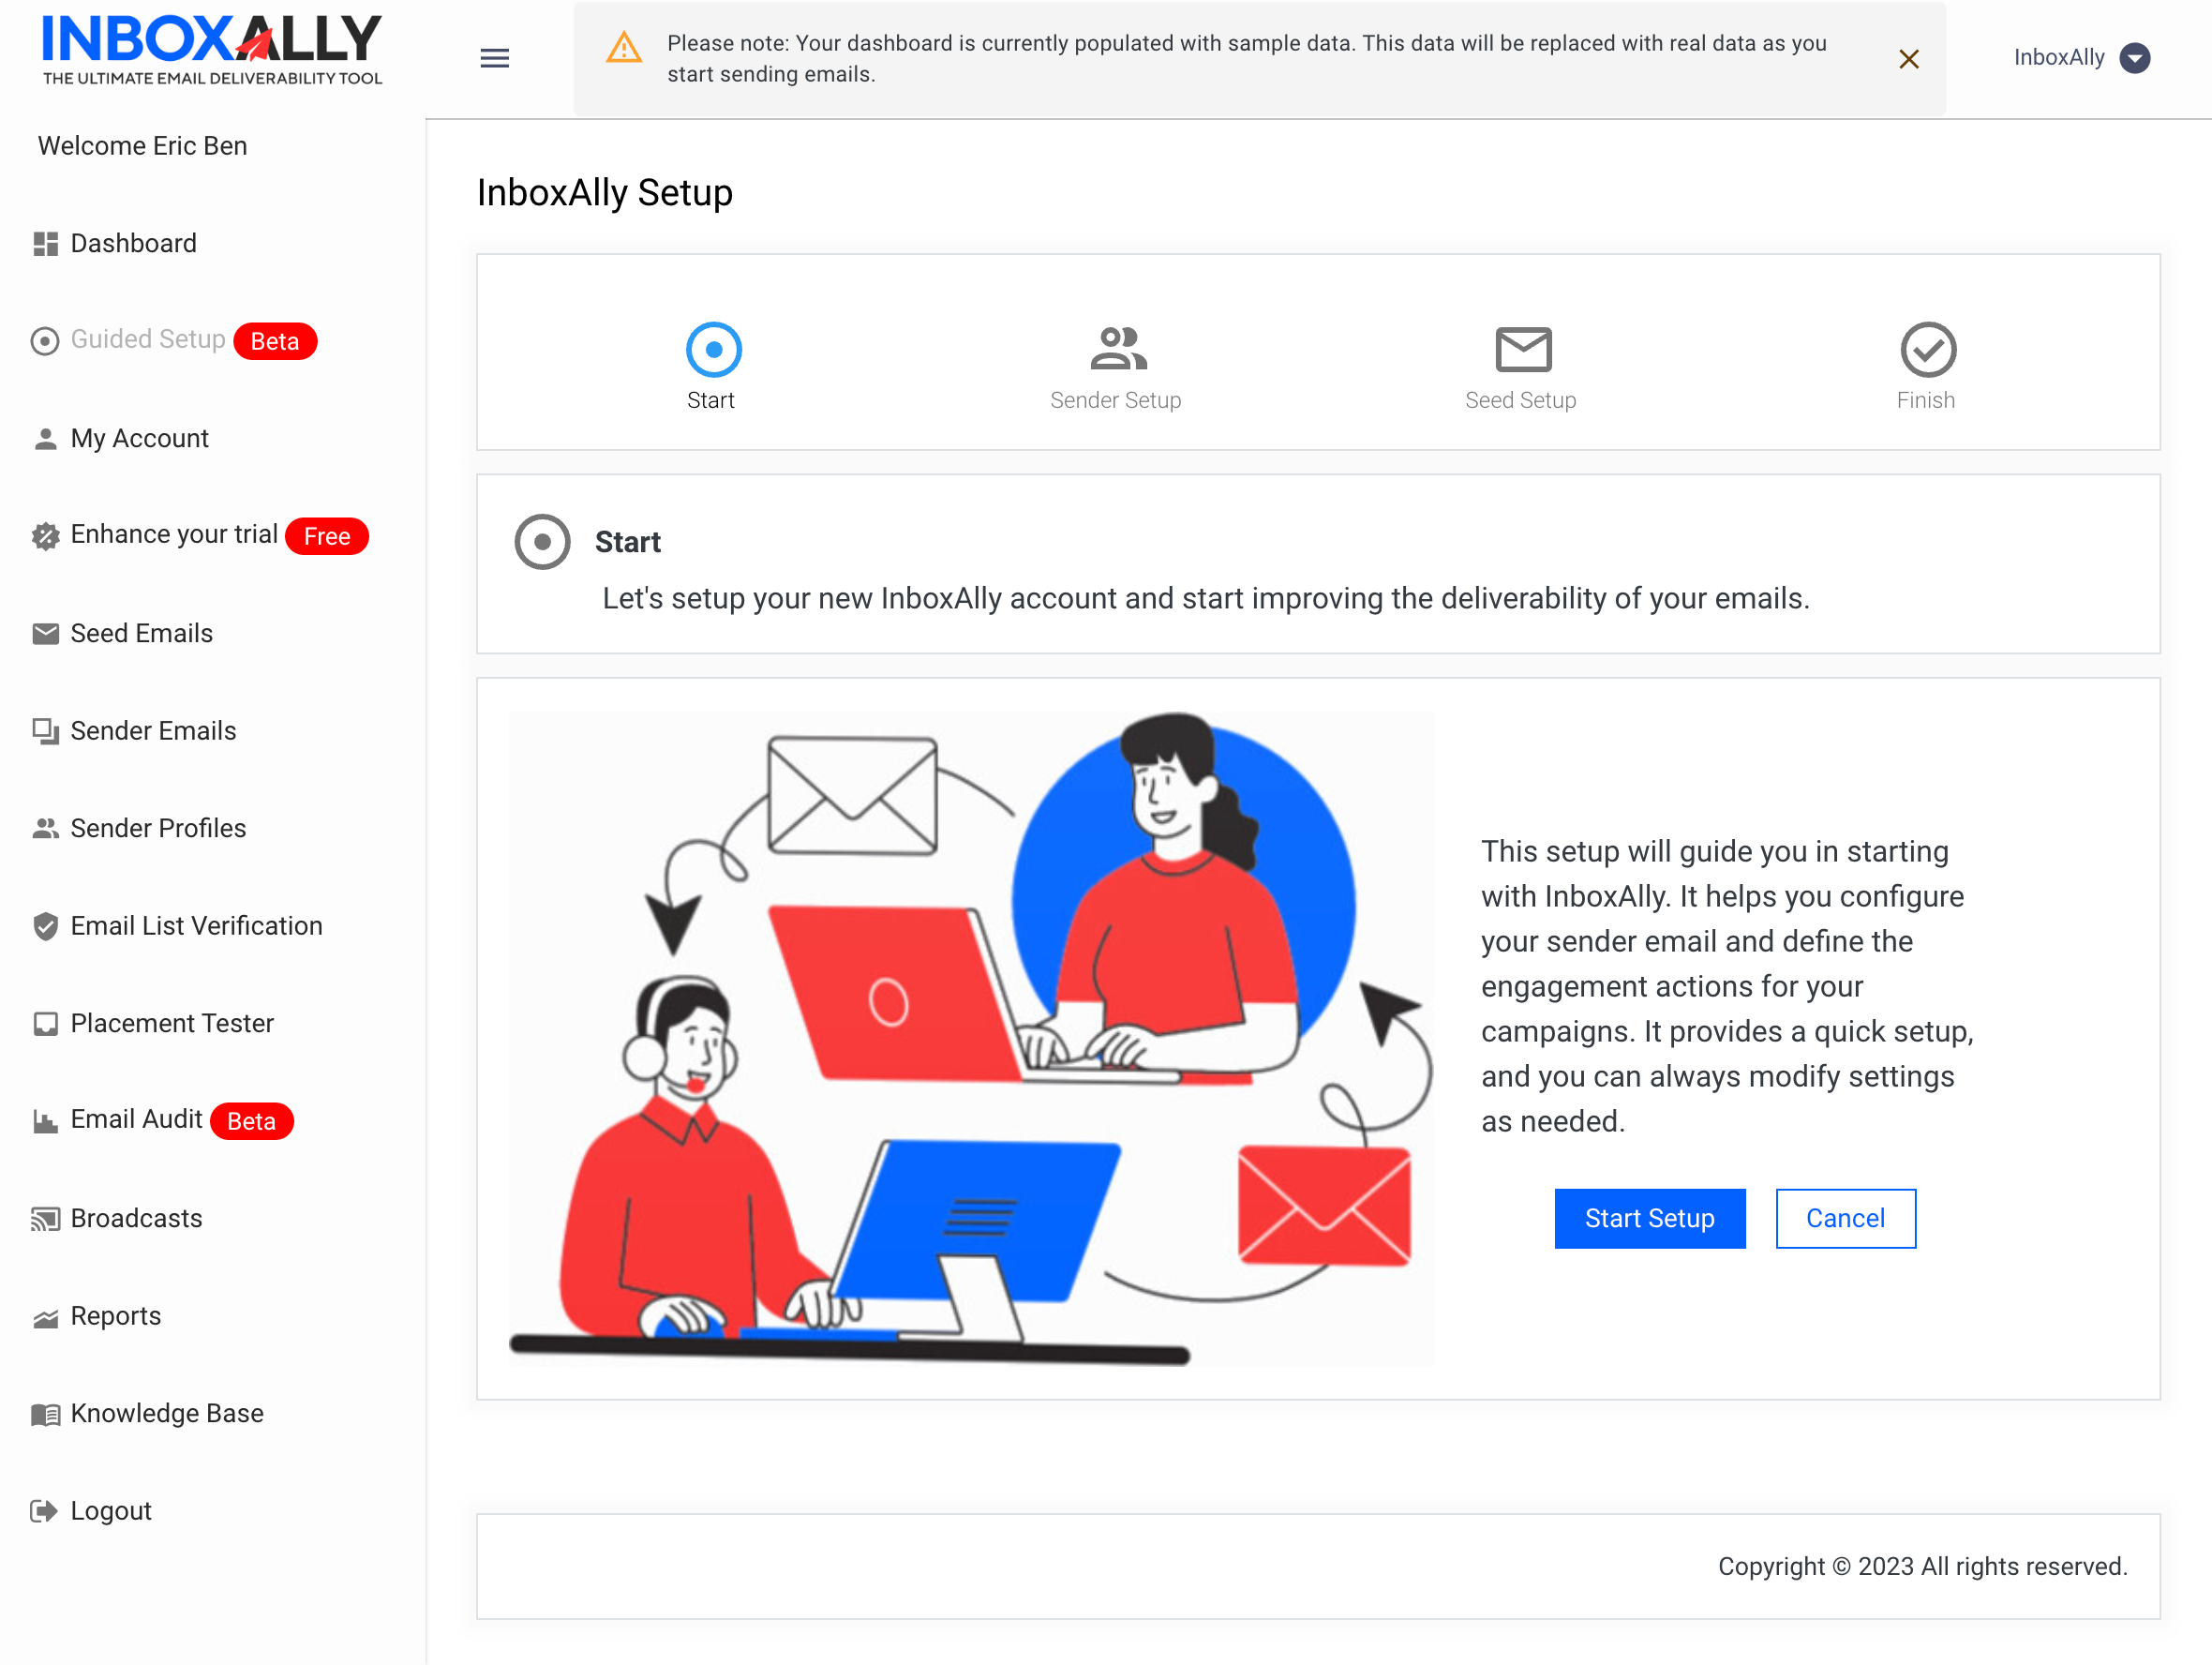
Start Setup
To begin, click Start Setup in the Guided Setup panel. This initiates the account setup process.
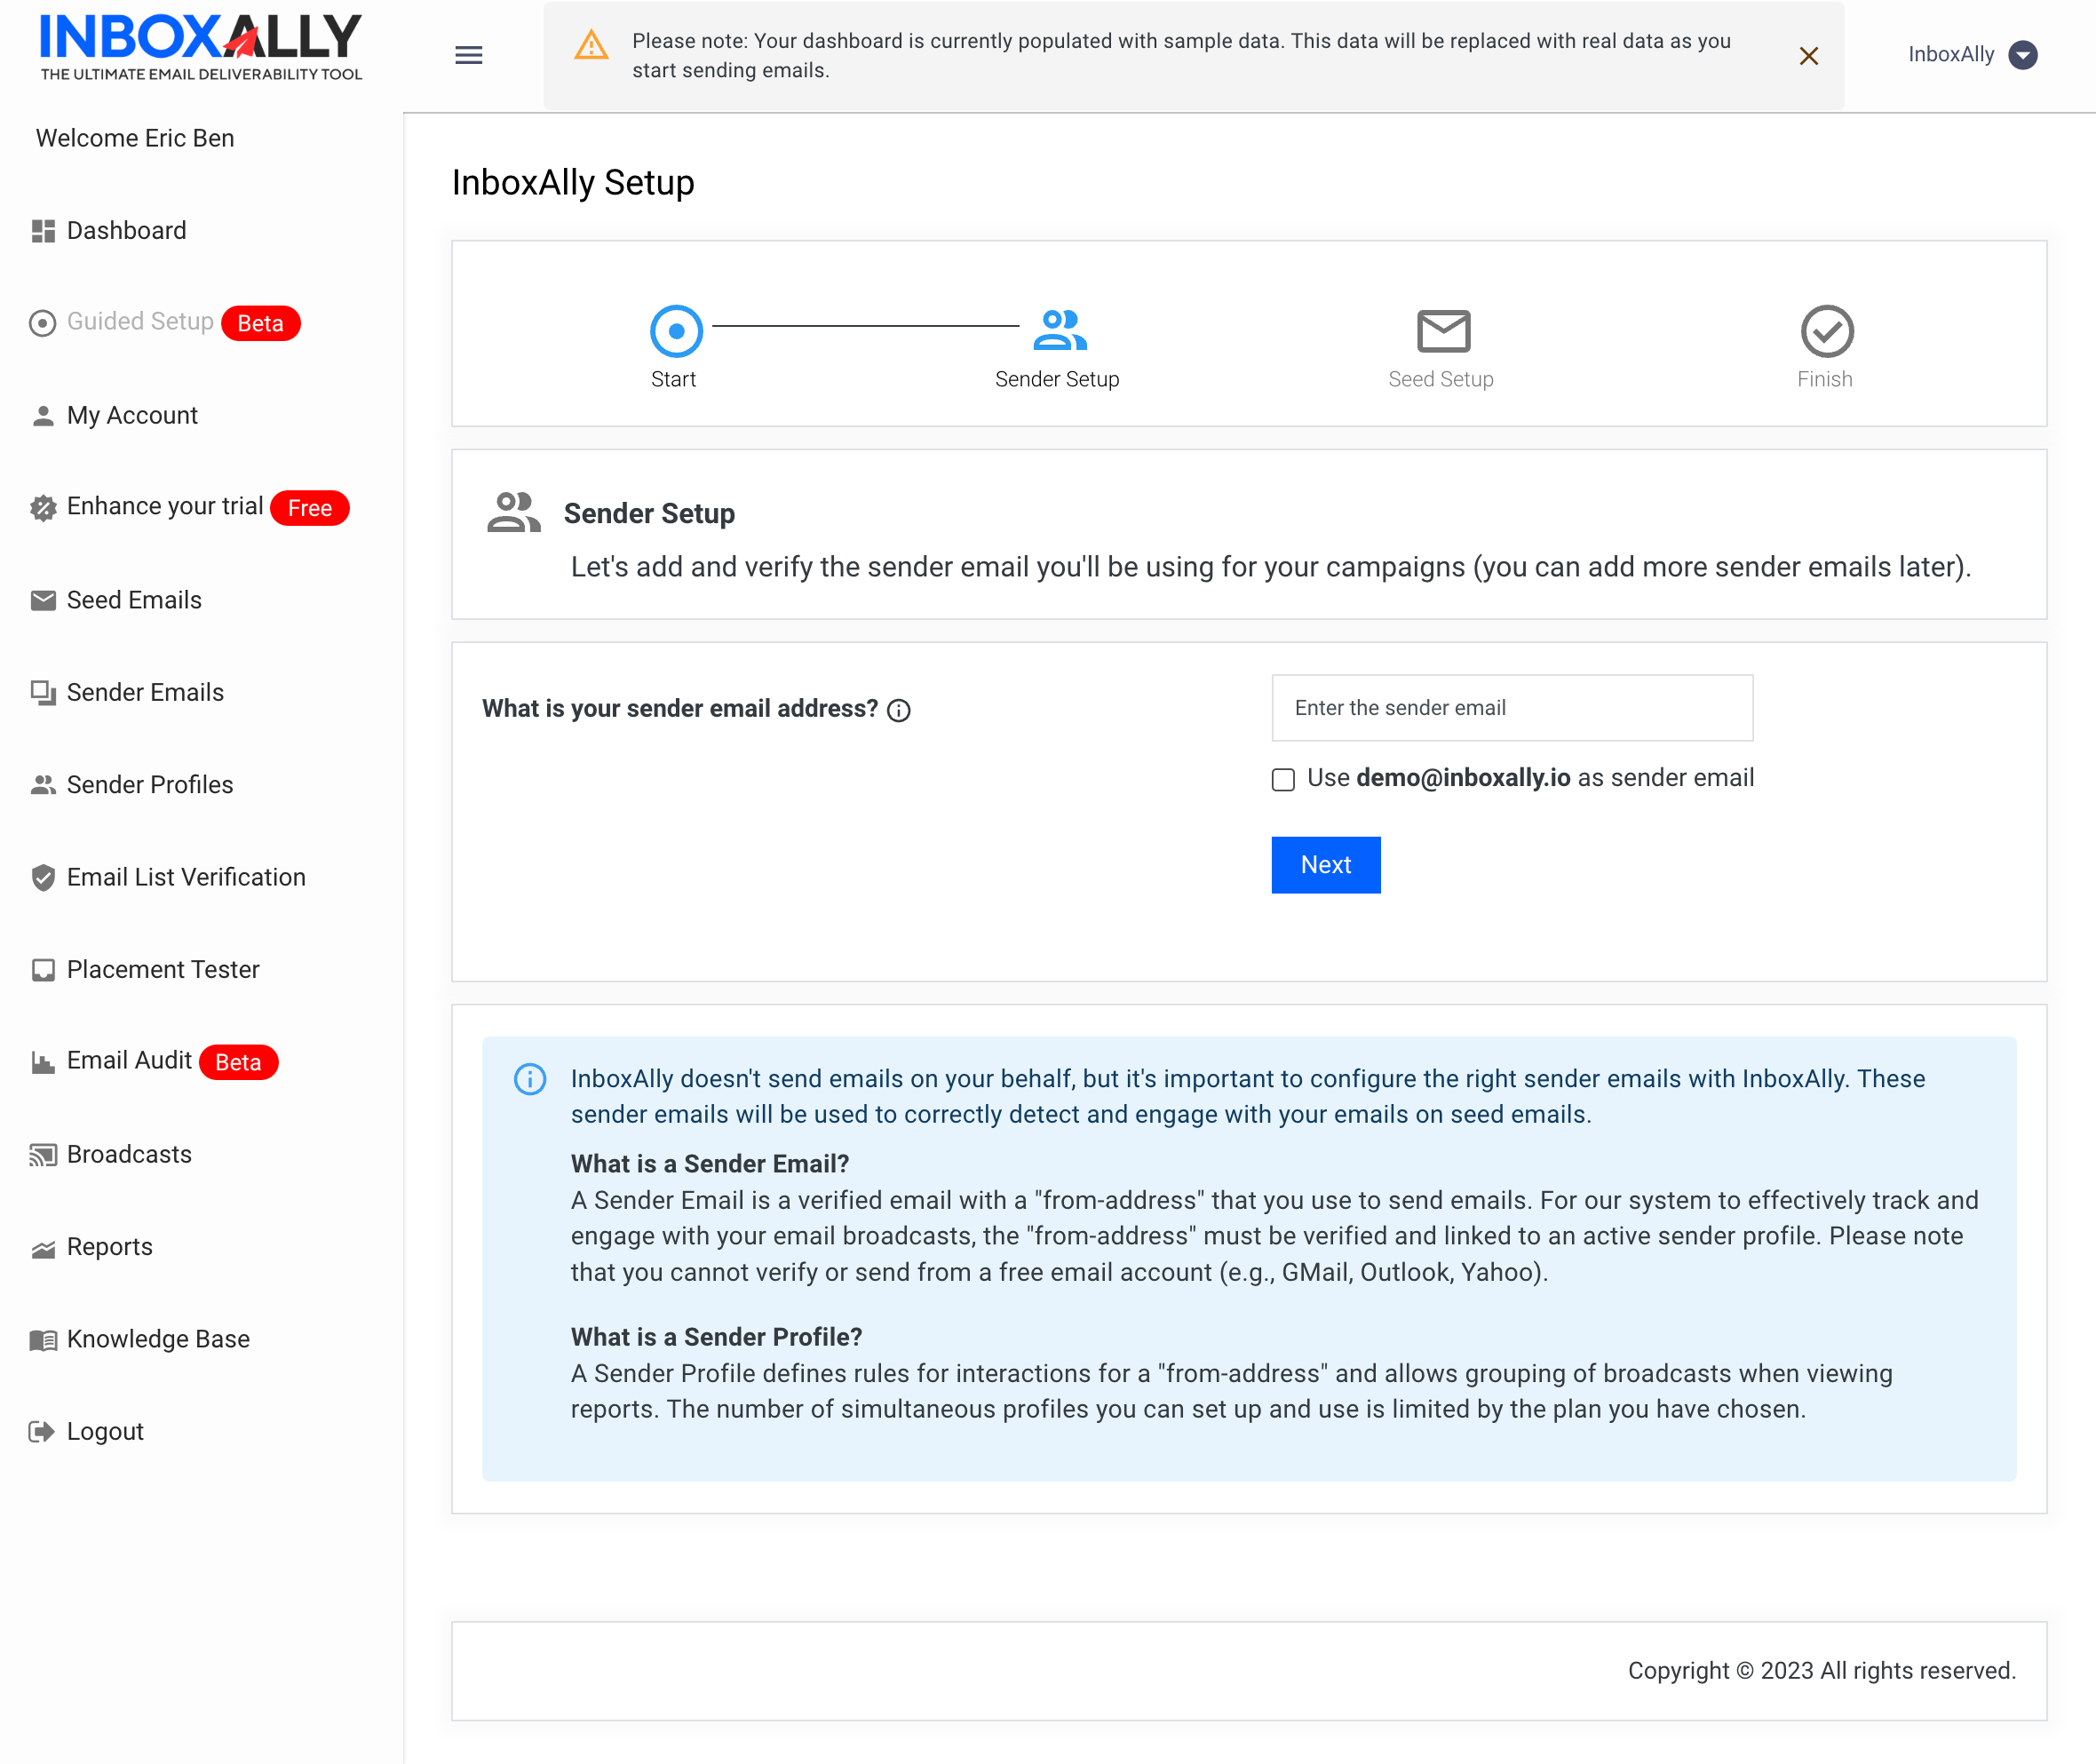
Sender Email Address
Next, the setup wizard will prompt you to enter a Sender Email Address. This is the “from” address you’ll use to send campaigns.
Key notes:
- If you have multiple sender addresses, you can add them later in Sender Emails.
- You can use the same email you signed up with by selecting the checkbox option in the wizard.
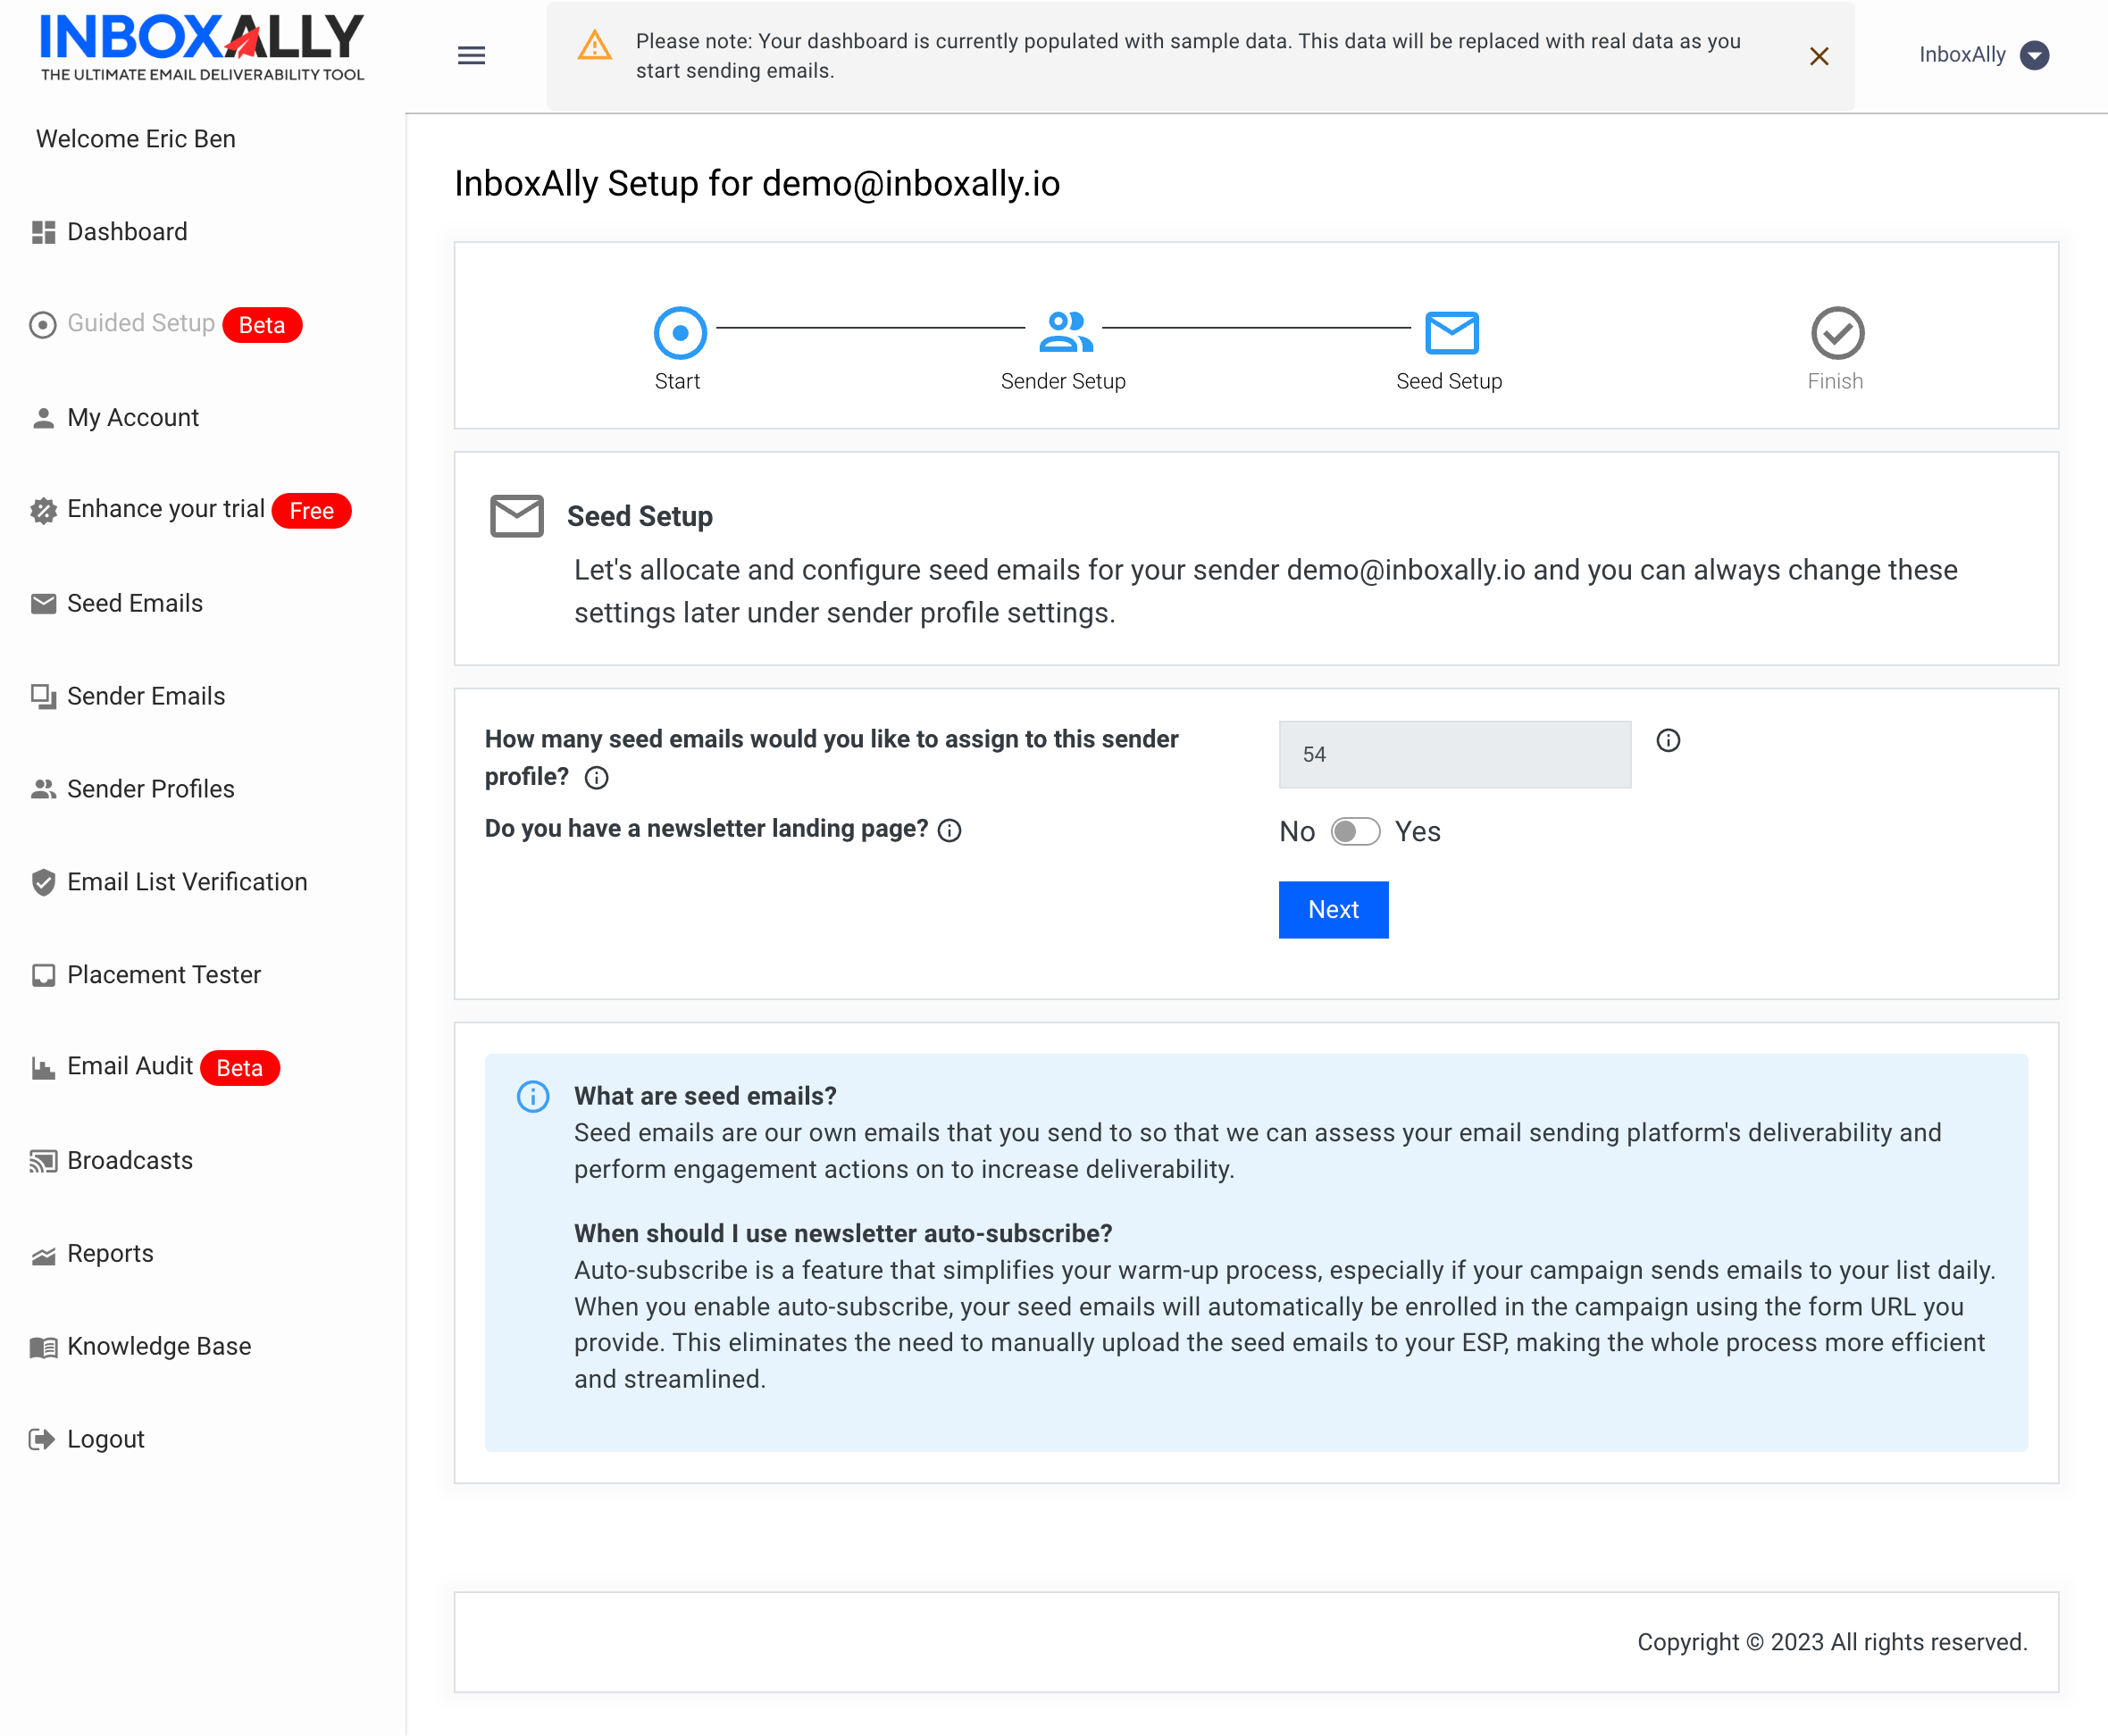
Seed Setup
In Seed Setup, you choose how many seed emails (seats) you want associated with your sender profile.
Typical starting point for new users:
- 50–100 seed emails, linked to a single sender profile
Note: InboxAlly supports seed email auto-subscribe using your newsletter landing page. This is an advanced option—contact Client Support if you think it applies to your setup and you’d like it enabled.
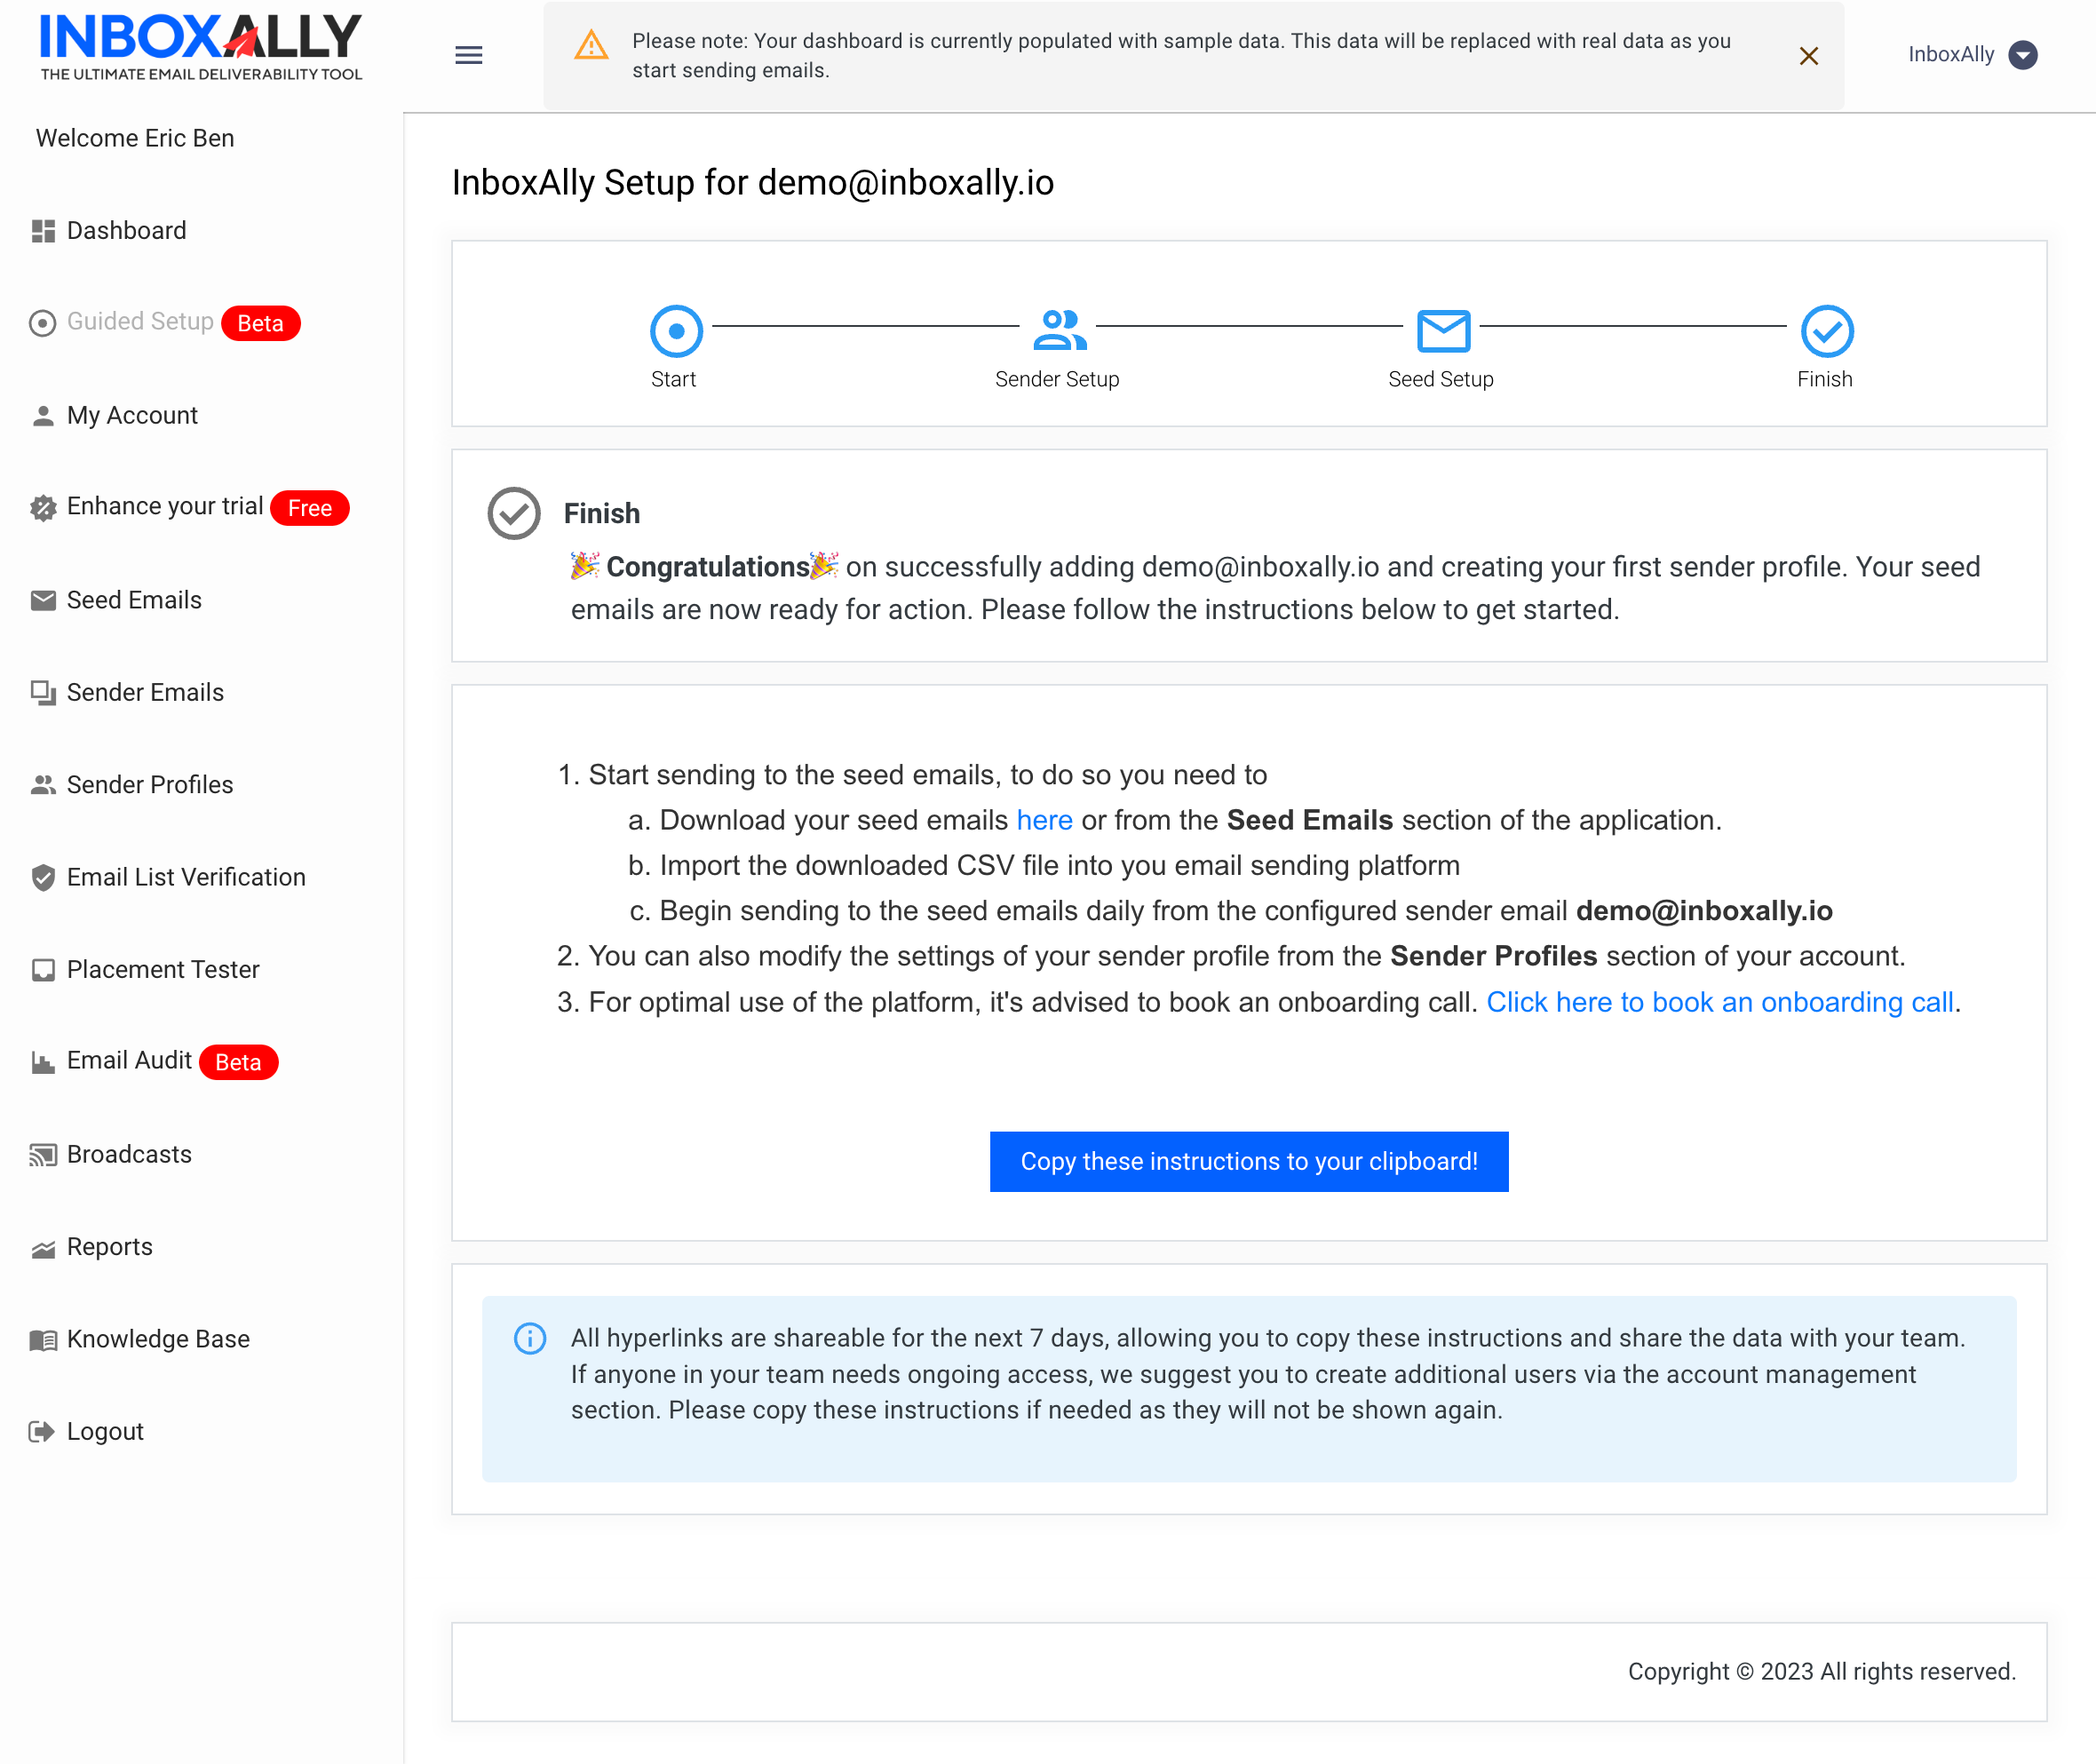
Ready to Go!
Once your sender profile is created, you’re ready to start using your seed emails.
Follow the on-screen instructions to:
- Download your seed emails
- Import them into your email sending platform as a CSV file
- Send to them the same way you send to your regular contacts (InboxAlly’s seed email network will interact with your campaigns to help train inbox providers that your mail is wanted)
Next steps (recommended)
After you complete the wizard, these are the most common next actions:
- If you need to change anything later, go to Sender Profiles to modify your configuration.
- Consider booking an onboarding call if you want help choosing the right seed count, ramp-up approach, or sender profile structure.
- If you want to validate a list before sending, use InboxAlly’s free Email List Verification.
If you don’t have an account yet, start a free trial of InboxAlly.